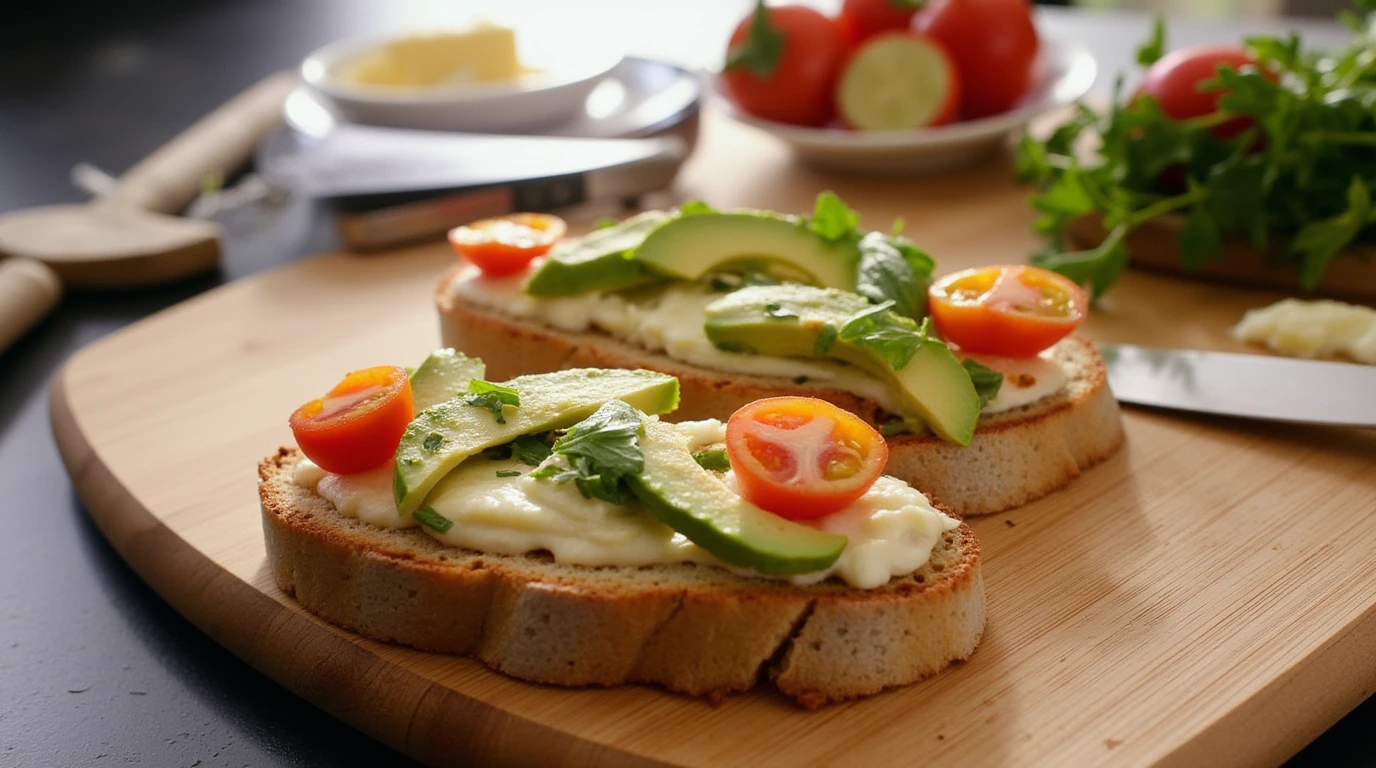
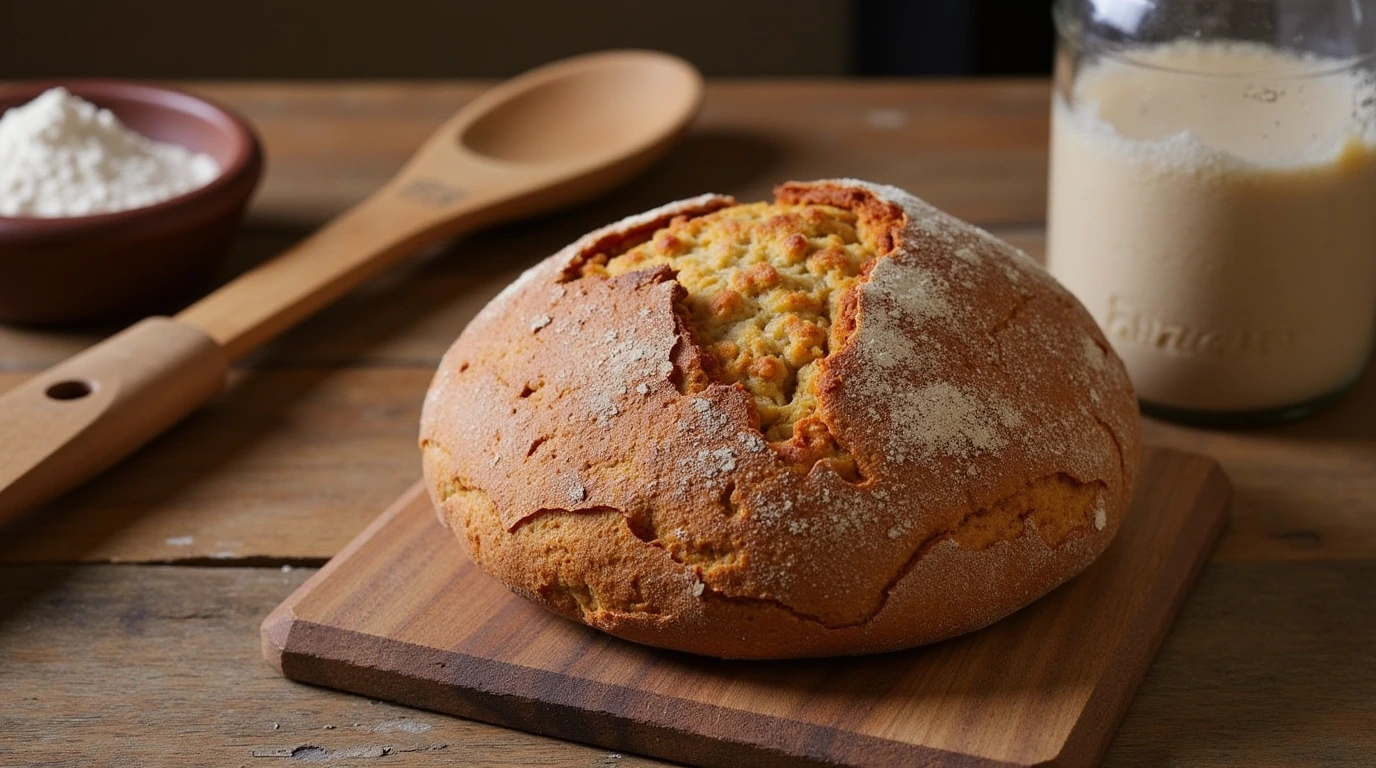
Baking gluten-free sourdough bread is a rewarding experience, offering delicious, tangy flavors and health benefits for those avoiding gluten. This guide explores the process, from creating a starter to baking the perfect loaf, along with helpful links to deepen your understanding.
What Makes Gluten-Free Sourdough Bread Unique?
Unlike traditional sourdough, gluten-free sourdough bread relies on alternative flours like rice, sorghum, and almond to replicate the structure provided by gluten. These substitutions create a bread that is both flavorful and suitable for individuals with gluten sensitivities or celiac disease.
For a variety of gluten-free breakfast ideas to pair with your sourdough, check out Quick and Easy Gluten-Free Breakfast Ideas.
Step-by-Step Recipe for Gluten-Free Sourdough Bread
Ingredients:
- 2 cups gluten-free flour blend
(Example: a mix of rice flour, sorghum flour, and tapioca starch for balance between flavor and texture) - 1 cup active sourdough starter
(Should be bubbly and active to ensure proper fermentation) - 1 tsp salt
(Enhances flavor and balances the sour notes) - 1 cup water
(Filtered or distilled water works best to avoid chlorine inhibiting yeast growth)
Instructions:
1. Prepare the Dough
- Combine the gluten-free flour blend, sourdough starter, salt, and water in a large mixing bowl.
- Use a sturdy spatula or your hands to mix until all ingredients are well combined. The dough should be sticky but not runny.
Tip: If the dough feels too dry, add water 1 tablespoon at a time, as gluten-free flours can absorb liquid differently. If it’s overly sticky, let it sit for 5 minutes to allow the flours to hydrate.
2. Fermentation
- Cover the bowl with a damp kitchen towel or plastic wrap to keep the moisture in.
- Place the bowl in a warm, draft-free spot (70-75°F is ideal). Let it ferment for 8-12 hours, or until the dough has risen slightly and has a tangy aroma.
Tip: During cooler months, you can place the bowl in a turned-off oven with the light on or use a proofing box. If fermenting overnight, check the dough in the morning for any signs of over-proofing (such as a collapsed surface).
3. Shape the Loaf
- Line a baking tin with parchment paper or lightly grease it to prevent sticking. Alternatively, if shaping a free-form loaf, dust a sheet of parchment paper with a small amount of gluten-free flour.
- Transfer the dough gently without deflating it too much. Smooth the surface with wet hands to shape the loaf and prevent cracks during baking.
Tip: If you prefer a round boule, use a Dutch oven or banneton to shape and bake for a rustic look.
4. Bake
- Preheat your oven to 425°F (220°C). Place a baking stone or sheet in the oven to preheat as well, if using.
- If baking in a tin, place the tin directly on the middle rack. For a free-form loaf, carefully transfer the dough (on its parchment) onto the preheated surface or baking stone.
- Bake for 40-50 minutes, or until the crust is golden brown and the loaf sounds hollow when tapped on the bottom.
Tip: For a crispier crust, place a shallow tray of water on the bottom rack of the oven to create steam during the first 20 minutes of baking.
Final Step: Cooling
- Once baked, remove the bread from the oven and let it cool on a wire rack for at least 1-2 hours before slicing.
Tip: Cooling allows the crumb to set fully, preventing a gummy texture often associated with gluten-free breads.
By following these steps, you’ll achieve a perfectly textured gluten-free sourdough bread with a delightful crust and moist crumb, ready to pair with your favorite toppings or meals.
Common Challenges in Baking Gluten-Free Sourdough Bread
Successfully baking gluten-free sourdough bread can be challenging due to the unique properties of gluten-free flours and the reliance on natural fermentation. Below are some of the most common issues and practical solutions to overcome them.
1. Dough Consistency
Challenge:
Gluten-free doughs are typically wetter and stickier compared to traditional wheat-based doughs. This can make shaping and handling difficult, often resulting in a loaf that lacks structure.
Solution:
- Use Binders: Incorporate psyllium husk or xanthan gum to mimic the elasticity and binding properties of gluten. Psyllium husk absorbs water and forms a gel-like consistency, which holds the dough together.
- Hydration Control: Gluten-free flours vary in how much water they absorb. Start with the recipe’s recommended water amount and adjust by adding water or flour in small increments to achieve a sticky but manageable texture.
- Rest the Dough: Allow the dough to rest for 10-15 minutes before shaping to let the flours hydrate fully. This often reduces stickiness and makes the dough easier to handle.
Tip: Lightly oiling your hands or tools can make handling sticky dough much easier.
2. Fermentation Issues
Challenge:
Proper fermentation is crucial for the flavor and texture of sourdough. However, gluten-free dough can struggle to ferment evenly due to its lack of gluten structure, leading to poor rise or uneven crumb.
Solution:
- Active Starter: Always ensure your sourdough starter is bubbly and active before mixing the dough. Feed the starter at least 6-8 hours before use, and check for signs of readiness (e.g., doubling in size, bubbly surface, and tangy smell).
- Warm Environment: Gluten-free dough ferments best in a warm, stable environment (70-75°F). Cooler temperatures slow down yeast activity, while excessive heat can kill it.
- Moisture Retention: Cover the dough with a damp cloth or plastic wrap to prevent it from drying out during fermentation.
Tip: If your kitchen is cold, consider placing the dough in a proofing box or an oven with the light on to maintain a consistent temperature.
3. Dense Loaves
Challenge:
Dense and gummy textures are common in gluten-free sourdough bread, often caused by underactive starters, inadequate hydration, or insufficient fermentation.
Solution:
- Ensure Active Starter: Test your starter’s activity before baking by adding a teaspoon of it to water. If it floats, it’s ready to use; if it sinks, feed it again and wait a few hours.
- Ferment Long Enough: Gluten-free dough often benefits from a slightly extended fermentation time to develop a lighter crumb. Be careful not to over-ferment, as this can collapse the structure.
- Hydration Balance: Gluten-free dough requires adequate hydration to avoid a dry or dense texture. The dough should feel wet but cohesive.
- Bake Properly: Use an oven thermometer to ensure the correct temperature. Baking at too low a temperature can result in a dense loaf.
Tip: If your bread often turns out dense, try adding a small amount of baking powder or baking soda to the dough for additional lift.
Additional Tips:
- Experiment with Flour Blends: The type of flour used greatly impacts the dough’s behavior. A combination of rice flour, sorghum flour, and tapioca starch often yields the best results.
- Steam in the Oven: Adding steam during the first 20 minutes of baking can help create a crusty exterior and improve the internal structure.
- Patience is Key: Gluten-free baking requires more trial and error than traditional baking. Track your adjustments and results to perfect your technique over time.
By addressing these challenges with the right techniques and tools, you can consistently achieve a well-risen, flavorful, and perfectly textured gluten-free sourdough bread!
Creative Variations for Your Bread

- Seeded Bread: Add chia or sunflower seeds for a crunchy texture.
- Herb-Infused Loaves: Mix in rosemary, thyme, or garlic for a savory twist.
- Sweet Sourdough: Incorporate dried fruits like raisins or cranberries for a sweet breakfast treat.
If you’re looking for inspiration for gluten-free dishes to pair with these variations, try Gluten-Free Breakfast Casserole with Bread.
FAQs About Gluten-Free Sourdough Bread
Q: How do I store gluten-free sourdough bread?
A:
- Short-Term Storage: Place the bread in an airtight container or wrap it tightly in plastic wrap. Store at room temperature for up to 3 days. This prevents the bread from drying out while maintaining its texture. Avoid refrigerating, as it can cause the bread to become stale faster.
- Long-Term Storage: For longer storage, slice the bread and place parchment paper between slices to prevent sticking. Store in a freezer-safe bag or container and freeze for up to 3 months. To use, thaw at room temperature or reheat slices directly in a toaster or oven.
Q: What is the best flour for sourdough bread?
A:
- Brown Rice Flour: Provides a mild flavor and works well as a base flour in gluten-free baking.
- Sorghum Flour: Adds a slightly nutty flavor and improves the structure of the bread.
- Tapioca Starch: Helps with binding and adds elasticity to the dough, mimicking some properties of gluten.
A blend of these flours ensures a balance of flavor, texture, and workability, making it ideal for gluten-free sourdough bread. Adjust the ratios based on your taste and dietary preferences.
Q: Can I make sourdough bread without a starter?
A:
Yes, while a starter is traditionally used to give sourdough its tangy flavor and natural fermentation, you can substitute with commercial yeast for a quicker option.
- Quick Alternative: Use a packet of instant yeast to speed up the fermentation process. Mix it directly with the flour and water, and allow the dough to rise for 1-2 hours before shaping and baking.
- Flavor Considerations: While using yeast is faster, it won’t replicate the complex flavors and benefits of a naturally fermented sourdough. If time permits, investing in a sourdough starter is worth it for the authentic taste.
Q: Why does my gluten-free sourdough bread turn out gummy?
A:
Gummy texture can result from several issues:
- Underbaking: Gluten-free bread often needs slightly longer baking times. Use a thermometer to ensure the internal temperature of the loaf reaches at least 205°F (96°C).
- Insufficient Cooling: Let the bread cool completely on a wire rack before slicing. Cutting into warm bread traps steam, resulting in a gummy texture.
- Incorrect Hydration: Too much water in the dough can lead to gumminess. Adjust water levels gradually when mixing the dough.
Q: Can I use all-purpose gluten-free flour for sourdough bread?
A:
Yes, but results can vary depending on the brand and blend of all-purpose gluten-free flour. Look for blends that include rice flour, tapioca starch, and xanthan gum for the best results. Avoid those that rely heavily on starches like potato or cornstarch, as they can result in a denser loaf. You may need to experiment with hydration levels to achieve the right consistency.
Q: How can I tell if my sourdough starter is ready to use?
A:
Your starter is ready when:
- It doubles in size within 4-6 hours of feeding.
- The surface is bubbly, and it has a tangy, yeasty aroma.
- A small spoonful floats when dropped into water (the float test).
If your starter doesn’t show these signs, feed it again and let it rest for a few more hours before using.
Q: Can I make gluten-free sourdough bread without psyllium husk or xanthan gum?
A:
Yes, but it requires additional adjustments:
- Use chia seeds or flaxseeds as substitutes. Grind them into a powder and mix with water to create a gel-like consistency before adding to the dough.
- These substitutes can help bind the ingredients, though the texture may differ slightly from traditional psyllium or xanthan gum-based doughs.
By addressing these common questions, you’ll be well-prepared to tackle any challenges while baking gluten-free sourdough bread and enjoy consistently delicious results!
Pair Your Bread with Delicious Gluten-Free Breakfasts
A slice of gluten-free sourdough bread pairs wonderfully with hearty breakfast options. Explore recipes like Overnight Gluten-Free Breakfast Casserole for a satisfying start to your day.
By following these steps and tips, you can create a loaf of gluten-free sourdough bread that rivals traditional recipes in flavor and texture. Whether you enjoy it as toast or use it for sandwiches, it’s a versatile and wholesome addition to your gluten-free lifestyle!

