Creating a delicious gluten free apple pie may seem like a challenge, but with the right ingredients and techniques, it’s entirely achievable. Whether you’re baking for yourself, friends, or family, this guide will help you create a pie that’s not only gluten free but also full of flavor and rich in texture.
If you’re looking for other indulgent gluten free desserts, try this decadent almond meal cocoa cake or a moist and comforting gluten free pound cake with sour cream.
Why Make Gluten Free Apple Pie?
Apple pie is an iconic dessert that deserves a place at every table, but for those avoiding gluten, it can feel off-limits. A gluten free apple pie allows you to enjoy this timeless treat without sacrificing your dietary needs.
Why go gluten free? Beyond catering to those with celiac disease or gluten sensitivities, gluten free recipes often incorporate wholesome alternative flours like almond, rice, and oat flours that bring unique flavors and textures to baked goods.
Mastering gluten free baking opens up countless opportunities. For example, an elegant gluten free creme brulee makes a sophisticated pairing for a slice of warm apple pie.
Essential Ingredients
The key to a perfect gluten free apple pie is selecting the right ingredients. Each component contributes to the overall flavor and texture of your pie.
Crust
- Gluten Free Flour Blend: Almond flour for a nutty richness, rice flour for lightness, or a pre-mixed gluten free baking blend with xanthan gum for elasticity.
- Cold Unsalted Butter: Provides the flaky texture; substitute with coconut oil or vegan butter for a dairy-free option.
- Salt: Enhances the flavor of the crust.
- Ice Water: Helps bind the dough without overhydrating it.
Filling
- Fresh Apples: Granny Smith for tartness, Honeycrisp for sweetness, or a mix for a balanced flavor.
- Sweetener: Brown sugar, coconut sugar, or maple syrup.
- Spices: Cinnamon, nutmeg, and allspice to add depth.
- Thickener: Tapioca starch or cornstarch to achieve the perfect filling consistency.
- Optional Add-Ins: Lemon juice to brighten the flavors and vanilla extract for extra warmth.
Step-by-Step Instructions
Follow these steps to create a flawless gluten free apple pie.
1. Prepare the Crust
- Combine the gluten free flour and salt in a large mixing bowl.
- Add cold butter in small cubes and use a pastry cutter or your fingers to mix until the texture resembles coarse crumbs.
- Add ice water gradually, one tablespoon at a time, until the dough forms a ball.
- Wrap the dough in plastic wrap and chill for at least 30 minutes to firm up.
2. Make the Filling
- Peel, core, and thinly slice your apples. Uniform slices ensure even cooking.
- Toss the apples in a large bowl with sugar, spices, thickener, and a splash of lemon juice.
- Let the mixture sit for 15-20 minutes, allowing the apples to release their natural juices.
3. Assemble the Pie
- Roll out the chilled dough between two sheets of parchment paper to prevent sticking.
- Transfer the crust to a pie dish and trim any excess dough from the edges.
- Pour in the apple filling, spreading it evenly.
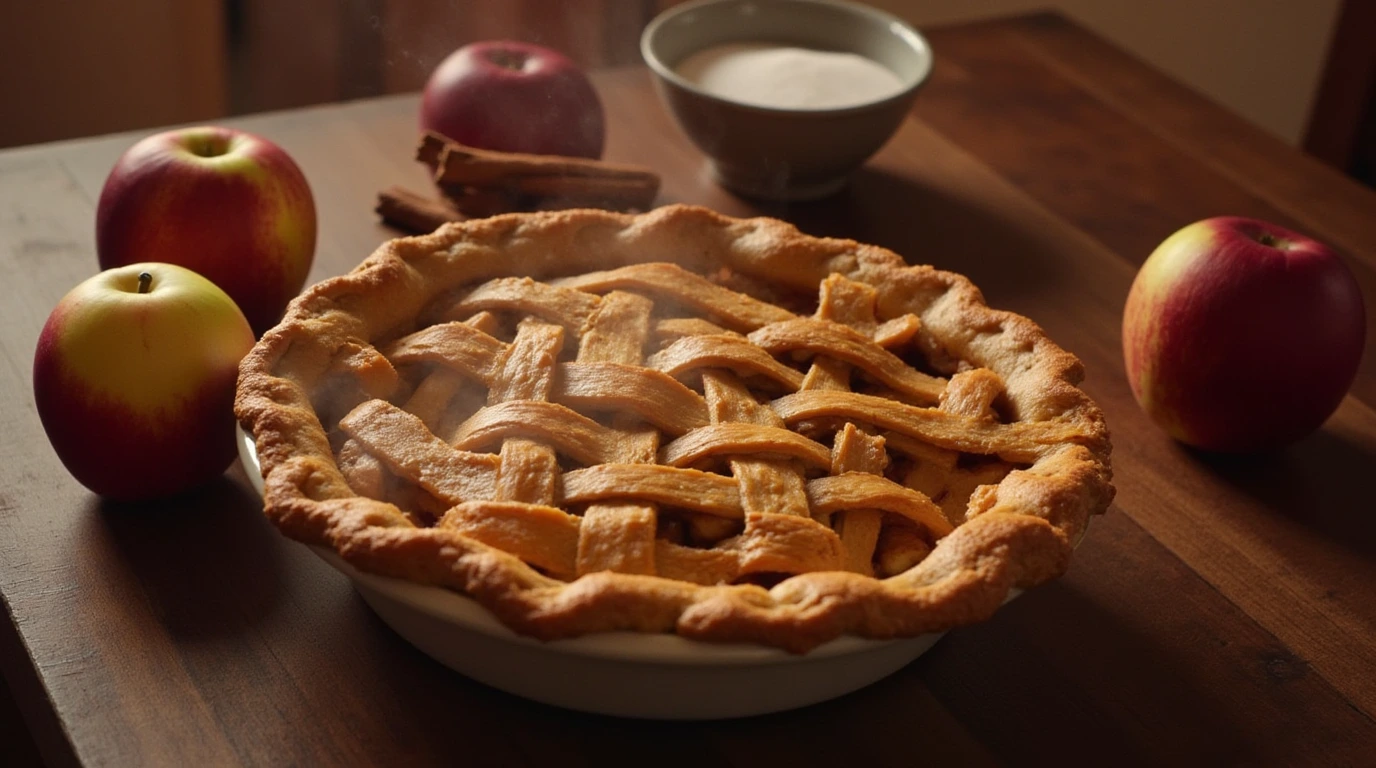
- Top with another layer of crust or create a lattice design for a rustic touch.
4. Bake
- Preheat your oven to 375°F (190°C).
- Bake the pie for 45-50 minutes, or until the crust is golden brown and the filling is bubbling.
- Let the pie cool for at least 30 minutes to allow the filling to set before slicing.

Pro Tips for Success
Achieving the perfect gluten free apple pie requires attention to detail and some tried-and-true techniques. Here are additional pro tips to ensure your pie turns out beautifully every time.
Keep Everything Cold
- Why it’s Important: Cold butter and water create steam as they melt during baking, leading to a flaky, tender crust. Warm ingredients can result in a greasy, dense dough.
- How to Do It: Chill your butter, water, and even your mixing bowl. If you’re working in a warm kitchen, place the rolled-out dough back in the fridge for 10-15 minutes before transferring it to the pie dish.
Avoid Overworking the Dough
- Why it’s Important: Overmixing develops the proteins in the flour, which can make the crust tough and chewy instead of delicate and flaky.
- How to Do It: Mix the dough until it just comes together. Visible specks of butter in the dough are a good sign—it means your crust will be light and flaky.
Blind Bake for Extra Crispness
- Why it’s Important: Blind baking (pre-baking the crust without the filling) helps prevent a soggy bottom crust, especially when using juicy apples.
- How to Do It: Line the crust with parchment paper and fill it with pie weights or dried beans. Bake for 10-12 minutes, remove the weights, and bake for another 5 minutes before adding the filling.
Protect the Edges
- Why it’s Important: The edges of a pie crust bake faster than the center and can overbrown or burn if not protected.
- How to Do It: Use a pie shield or wrap the edges with aluminum foil. Remove the shield or foil during the last 15 minutes of baking to allow the edges to achieve a golden hue.
Rest Your Dough
- Why it’s Important: Resting the dough after mixing allows the flour to hydrate and the butter to firm up, making it easier to roll out and less likely to tear.
- How to Do It: Chill the dough for at least 30 minutes before rolling it out. For best results, refrigerate it overnight.
Use the Right Apples
- Why it’s Important: Not all apples bake the same way. Some turn mushy, while others hold their shape and texture.
- How to Do It: Choose firm, tart apples like Granny Smith for structure and flavor, or combine them with sweeter varieties like Honeycrisp for a balanced filling.
Vent the Top Crust
- Why it’s Important: Proper ventilation prevents steam from building up under the top crust, which can lead to soggy filling or a collapsed crust.
- How to Do It: Cut slits into the top crust or use a lattice design to allow steam to escape during baking.
Cool the Pie Completely
- Why it’s Important: Cutting into a pie fresh out of the oven can result in a runny filling. Cooling allows the starches in the filling to set properly.
- How to Do It: Let the pie rest at room temperature for at least 2-3 hours before slicing. For quicker cooling, place the pie on a wire rack to allow air circulation.
Taste-Test the Filling
- Why it’s Important: The sweetness and tartness of apples can vary, so adjust the sugar and spices to taste before baking.
- How to Do It: Scoop a small portion of the mixed filling into a microwave-safe dish and heat for 20-30 seconds to test the flavor balance.
Variations
- Dairy-Free Option: Use plant-based butter and coconut milk in the crust.
- Lower Sugar: Substitute refined sugar with natural sweeteners like date syrup or monk fruit sweetener.
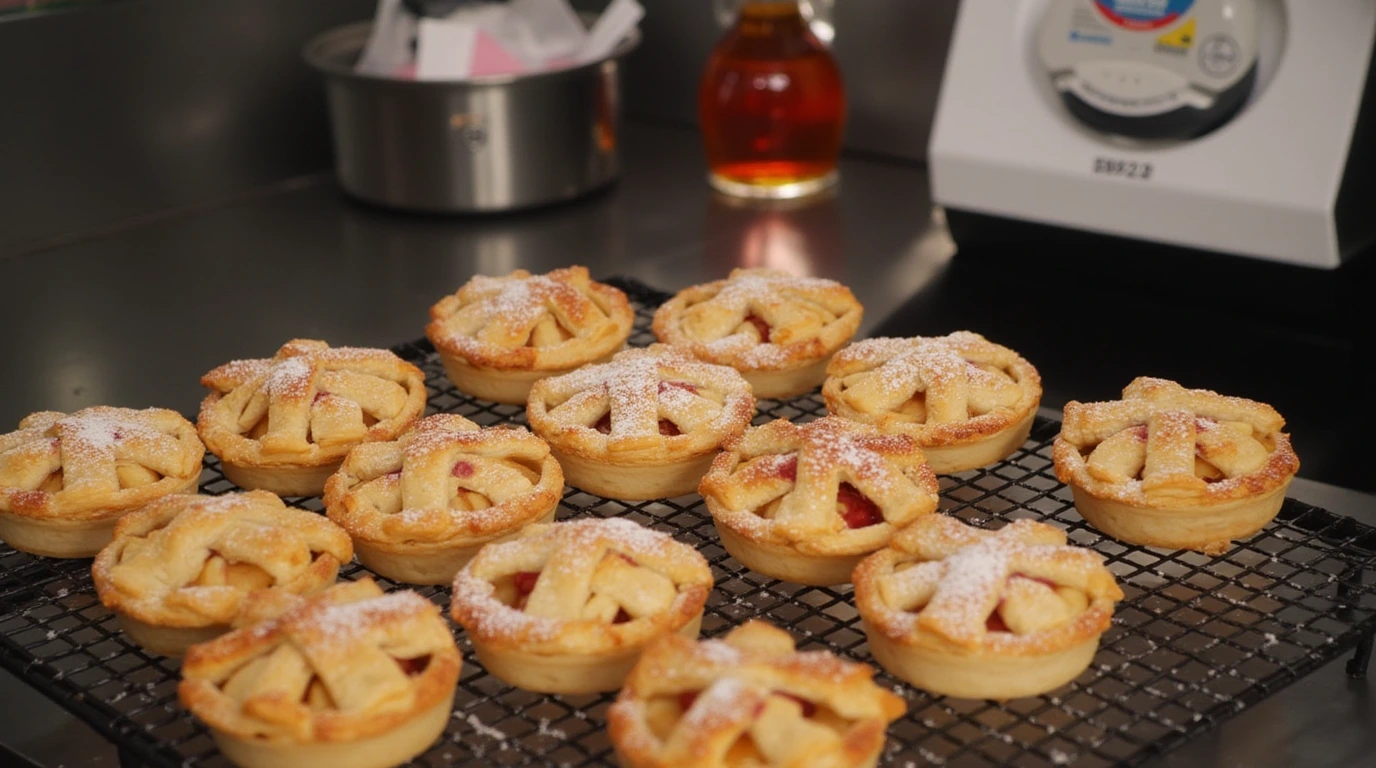
- Mini Pies: Use muffin tins to create individual servings, perfect for parties or portion control.

FAQs
What Apples Work Best for Gluten Free Apple Pie?
Tart varieties like Granny Smith or Honeycrisp are ideal. Mixing types creates a well-rounded flavor profile.
Can I Make the Pie Ahead of Time?
Yes! Prepare the dough and filling separately, then assemble and bake just before serving.
How Do I Store Leftovers?
Store the pie in an airtight container in the refrigerator for up to 3 days. Warm slices in the oven before serving.
Conclusion
A gluten free apple pie is more than a dessert—it’s a way to bring everyone to the table, regardless of dietary restrictions. By following these steps and experimenting with variations, you can create a pie that’s both nostalgic and innovative.
Pair your pie with a creamy gluten free cheesecake or enjoy it alongside fluffy gluten free donuts for a dessert spread that impresses. And don’t forget to try an indulgent gluten free creme brulee for a touch of elegance.
Indulge in every bite of this timeless dessert, reimagined for the gluten free kitchen!

