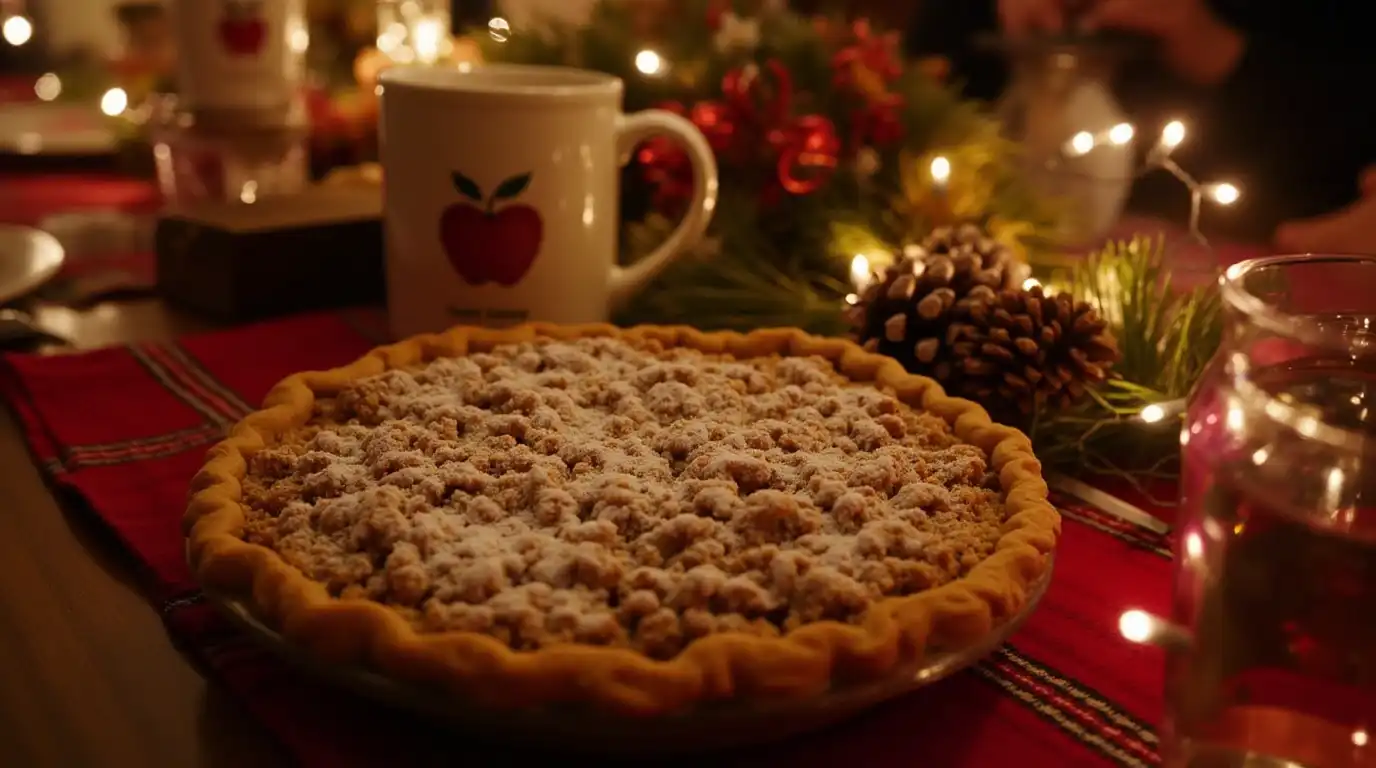
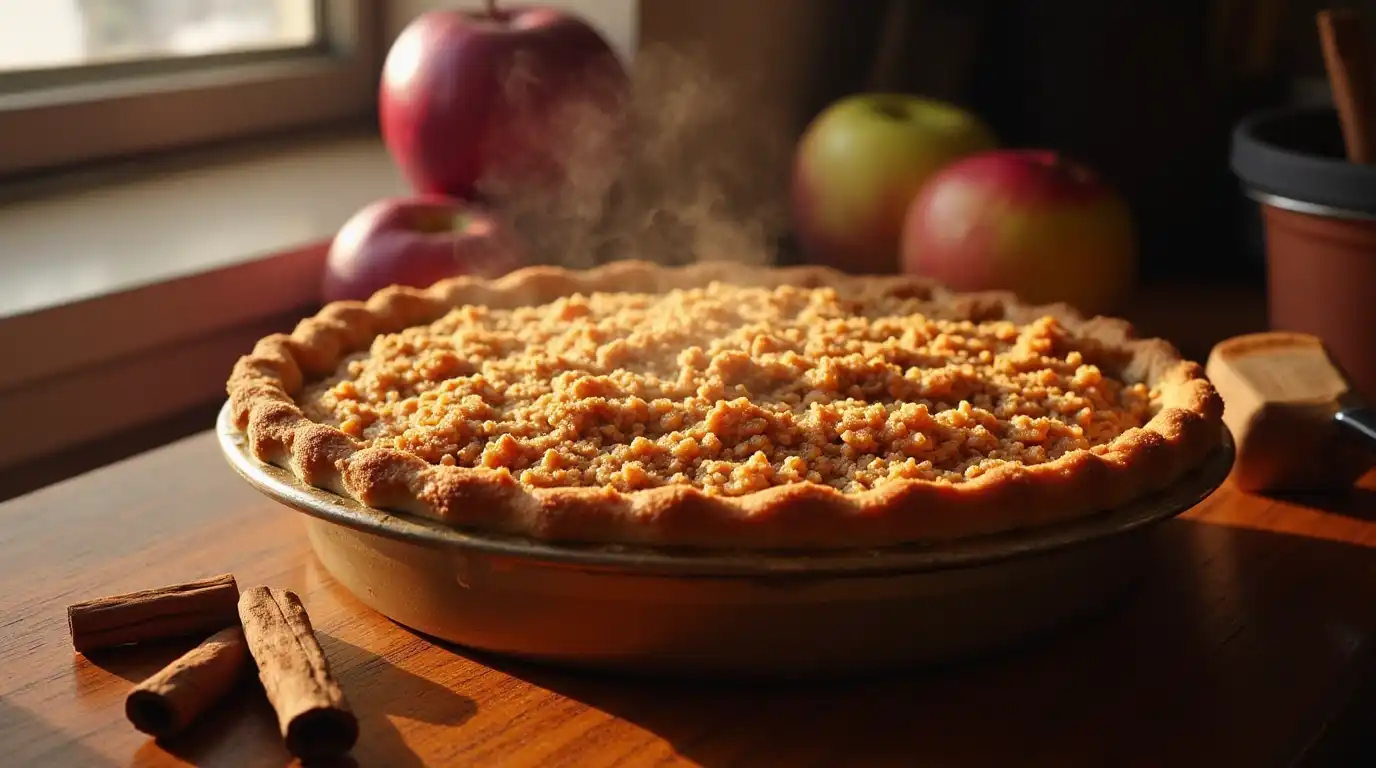
Are you searching for a dessert that’s both comforting and inclusive? Look no further than gluten free apple crumble pie! Combining a flaky crust, a luscious spiced apple filling, and a crisp, buttery topping, this pie is ideal for anyone craving a delicious gluten free dessert. Let’s dive into the ultimate guide to creating this show-stopping treat!
Why Gluten Free Apple Crumble Pie Is So Special
Many think that gluten free baking compromises on flavor or texture, but this pie proves otherwise. It offers the perfect balance of sweet and tart, with a crumble topping that adds just the right amount of crunch.
The recipe also shines because of its adaptability. You can easily tweak it to suit dietary restrictions, such as making it dairy-free or nut-free. For breakfast enthusiasts, this pie pairs well with Gluten-Free Indian Breakfast: Delicious, Healthy, and Easy Recipes, providing a wholesome start to your day.
And if you’re a fan of desserts, consider pairing it with Rich and Fudgy Gluten Free Brownies with Almond Flour for a dessert spread that’s sure to impress.

Essential Ingredients for the Perfect Gluten Free Apple Crumble Pie
Crust
- 1 unbaked gluten free pie crust (store-bought or homemade).
- Tip: If making your crust, use a combination of almond flour and tapioca flour for a flaky result.
Filling
- 5 cups peeled and thinly sliced apples (Cortland or Northern Spy work best).
- 3 tablespoons granulated sugar.
- 2 tablespoons tapioca flour or cornstarch for thickening.
- 1 teaspoon cinnamon.
- 1 teaspoon lemon juice.
- 2 tablespoons cold unsalted butter or dairy-free substitute, diced.
Crumble Topping
- 1 cup gluten free rolled oats.
- ½ cup gluten free flour blend (brown rice flour, sorghum flour, tapioca flour).
- ¼ teaspoon xanthan gum (for binding).
- ⅓ cup packed brown sugar (or substitute with coconut sugar for a healthier option).
- ⅓ cup chopped walnuts (optional).
- ¼ teaspoon salt.
- 1 teaspoon cinnamon.
- ⅓ cup cold unsalted butter or coconut oil for a dairy-free option.
Step-by-Step Instructions for Baking Perfection
1: Prepare the Crust
- If using a homemade crust, roll it out on parchment paper to avoid sticking. Transfer it carefully to a pie dish and press it into place. Trim any excess edges for a neat finish.
- Blind bake the crust for 10 minutes at 350°F to ensure it doesn’t get soggy when the filling is added.
2: Make the Apple Filling
- Toss the apple slices in a large bowl with sugar, tapioca flour, cinnamon, and lemon juice. Mix until evenly coated.
- Spread the apple mixture evenly over the pre-baked crust, ensuring an even layer. Add diced butter for richness.
3: Create the Crumble Topping
- Combine oats, flour blend, xanthan gum, sugar, and cinnamon in a mixing bowl.
- Add cold butter and mix with your fingers until the mixture forms pea-sized clumps.
- Sprinkle the crumble evenly over the apples, pressing gently to secure it in place.
4: Bake the Pie
- Preheat your oven to 350°F. Bake the pie for 45-50 minutes, or until the topping is golden brown and crisp.
- Let the pie cool for at least 15 minutes before serving to allow the filling to set.
Pro Tips for the Best Results
Crafting the perfect gluten free apple crumble pie requires a mix of careful preparation and expert tricks. These pro tips will help you elevate your dessert to bakery-quality results:
1. Apple Choice Matters
The type of apple you use can make or break your pie. Opt for firm, tart varieties like Cortland or Northern Spy. These apples retain their structure during baking, preventing the filling from becoming mushy or overly sweet. Avoid softer apples, such as McIntosh, which can break down too quickly when cooked.
Bonus Tip: If you’re experimenting with flavors, you can mix apple varieties, pairing a tart option like Granny Smith with a sweeter one like Fuji for a dynamic taste.
2. Crispy Topping Secret
The crumble topping is the crown jewel of this dessert, and achieving the perfect texture lies in the butter. Always use cold, unsalted butter when preparing the topping. This ensures the butter creates pockets of fat in the mixture, resulting in that desirable crunchy texture when baked.
Quick Trick: Use your hands to lightly pinch the crumble mixture together until small clumps form. Avoid overmixing, as this can cause the butter to soften prematurely, leading to a less crispy finish.
3. Even Baking Every Time
Baking your pie evenly is key to ensuring the crust is cooked through, the filling is tender, and the topping is golden brown. Always place your pie on the middle oven rack, where heat circulates most evenly.
Extra Tip: Rotate the pie halfway through baking to prevent any uneven browning, especially if your oven has hot spots.
4. Blind Baking for the Perfect Crust
To prevent a soggy bottom crust, always blind bake your crust for 8-10 minutes before adding the filling. Use pie weights or dried beans to keep the crust from puffing up during pre-baking.
5. Prevent Over-Spicing
While cinnamon is a must, too much spice can overpower the natural sweetness of the apples. Stick to 1 teaspoon of cinnamon, and if adding other spices like nutmeg or cloves, use them sparingly (around ¼ teaspoon).
6. Control Sweetness
Apples can vary in natural sweetness, so taste your filling mixture before adding sugar. You can adjust the sugar amount to suit your preference or to balance tart apples.
7. Let It Rest
Once your pie comes out of the oven, let it cool for at least 15-20 minutes before slicing. This resting period allows the filling to thicken, making it easier to serve clean slices without the filling spilling out.

For a delightful no-bake option that’s creamy and easy to make, check out this Gluten Free No-Bake Cheesecake Recipe. It’s a perfect complement to your crumble pie, offering a cool and refreshing contrast to the warm dessert!
Serving Ideas and Pairings
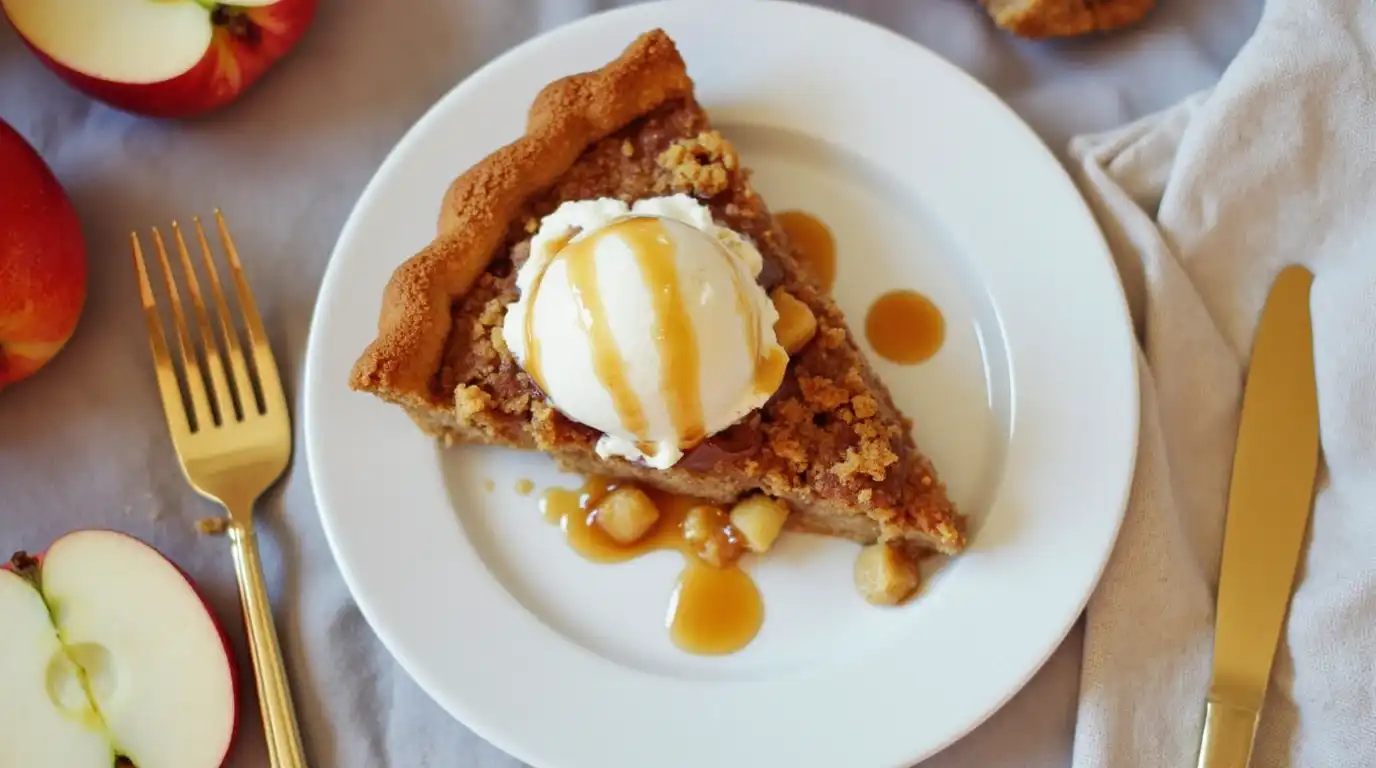
- Serve the pie warm with a scoop of dairy-free vanilla ice cream.
- Drizzle caramel or honey over the top for added sweetness.
- Pair it with Soft and Delicious Gluten Free Gingerbread Cookies for a cozy dessert platter.
Storage Tips
- Refrigerate leftovers in an airtight container for up to 3 days.
- Freeze the pie by wrapping it tightly in plastic wrap and foil. Thaw overnight in the fridge and reheat in the oven.
Creative Variations to Try
- Nut-Free Version: Skip the walnuts in the crumble topping and replace them with extra oats or sunflower seeds.
- Spice It Up: Add nutmeg, cloves, or cardamom to the filling for a festive flavor twist.
- Berry Blend: Mix in raspberries or blackberries with the apples for a fruity variation.
For another creative dessert idea, this Gluten Free Bread Pudding Recipe offers a comforting option that complements your crumble pie beautifully.
Frequently Asked Questions
1. Can I make the pie ahead of time?
Yes! You can prepare the crust and filling a day in advance and store them separately. Assemble and bake the pie fresh for best results.
2. How do I keep the crumble topping from becoming soggy?
Ensure the crumble topping is spread evenly and don’t cover the pie during baking. Let it cool uncovered to maintain its crispness.
3. Can I make this pie vegan?
Absolutely. Use coconut oil instead of butter for both the crust and topping. Substitute the filling’s butter with vegan margarine.
4. What other flours can I use for the crust?
Try almond flour, coconut flour, or millet flour for unique flavors and textures.
Conclusion
This gluten free apple crumble pie proves that dietary restrictions don’t have to limit flavor or creativity. With its perfectly spiced filling, buttery topping, and customizable options, this pie is guaranteed to become a favorite. Whether enjoyed on its own or paired with complementary desserts, it’s the perfect way to celebrate gluten free baking at its finest!

